We have been editing video clips for our Vlogs, event videos and movies. But as the world is becoming more digitalized, the information transfer must be quick and always accessible. But you are finding a problem to:
- Recording your screen
- Capturing a Gameplay
- Processing an online lecture
Let us offer you a tool for all your projects and tasks. DemoCreator not only helps enhance your video clips but also is a simplified professional software to record and edit lesson videos or screenplays.
DemoCreator software is a screen recorder with audio that allows you to incorporate your audio by recording it during the capturing screen process. It sounds fantastic, right? So here is how you can make it happen! When recording a video lecture, or giving a presentation, or even recording a gameplay, few things become very essential:
- On-screen content
- Your expressions
- Your voice and BG music if needed
But all these things look a huge deal to handle. DemoCreator has now made it all possible with click of CAPTURE. It is a great screen recorder for PC. Now you can access the most sophisticated, simple video capturing and editing software.
Recording the Lesson Video
You are all set to record your screen. Now, simply open the DemoCreator software installed in your System. As you open it a window appears showing you 2 options:
- Capture
- Video Editor
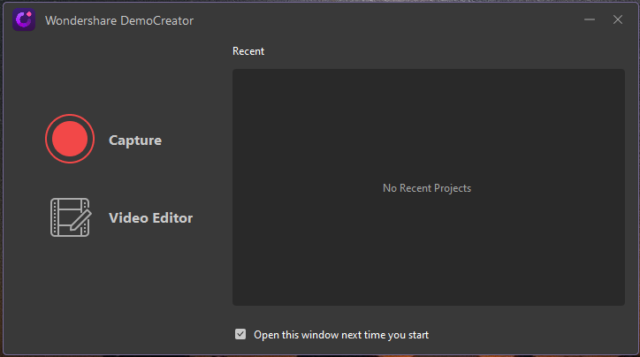
Now press, the Capture button to pursue with the on-screen recording process. The DemoCreator software is a simple, precise and professional software to capture recordings at a maximum desired quality.
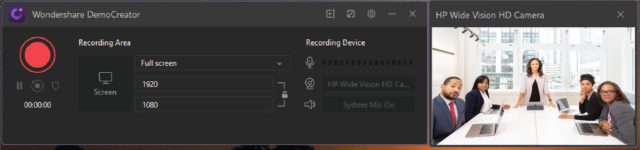
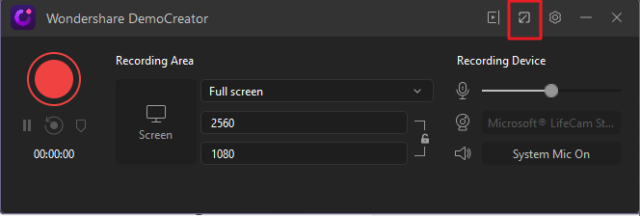
On pressing the Capture option, Split windows will appear. This can be considered to have 2 parts:
- Left-hand to manage recording information
- Right-hand to view your camera or screen output
Settings Adjustment
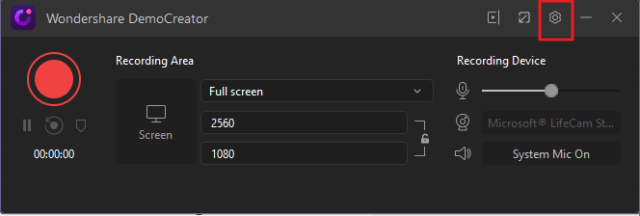
Before pursuing for the recording, we highly suggest to go through the settings. The software although automatically adjusts with the default suitable settings but it is better to select to most preferable for you.
In order to make some adjustments, click on the settings icon on the top right corner of the window.
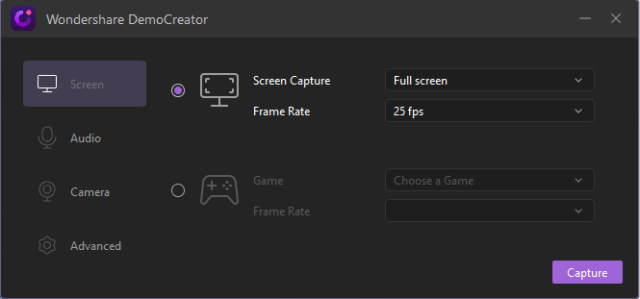
In the settings tab, you can make changes related to your:
- Camera recording
- Screen recording
- And voice recording
The screen recording helps you to record at a full screen with various FPS (Frames per seconds) option. At the bottom of it, we have gameplay option. DemoCreator helps you to select different games and have built in settings for recording it at optimum level.
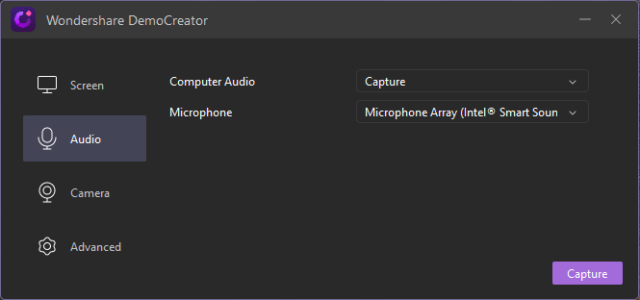
Audio or Voice Adjustment
Right below the screen tab is the audio option. By audio, you can select whether you want to record the audio or not. And if yes, what sort of a device will you prefer using.
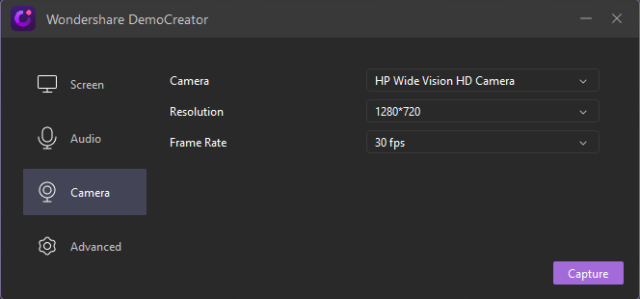
Camera Settings
Next to it is camera settings. With this we can select the desired device to record video through camera and the quality of output required by adjusting the Resolution factor and FPS.
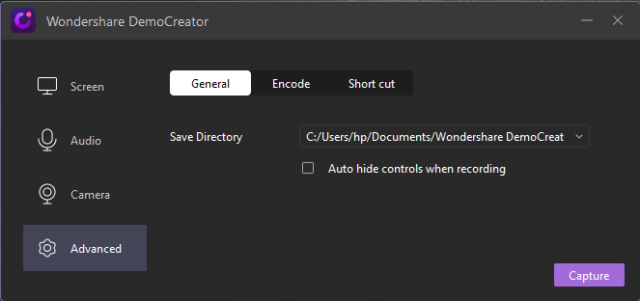
Advanced Settings
Through advanced settings, you can locate the save directory of your recordings and video capture. Moreover, the most useful thing would be to auto-hide the controls on recording. The auto-hide helps you to record your complete screen without showing the background working of DemoCreator. The controls are always accessible though.
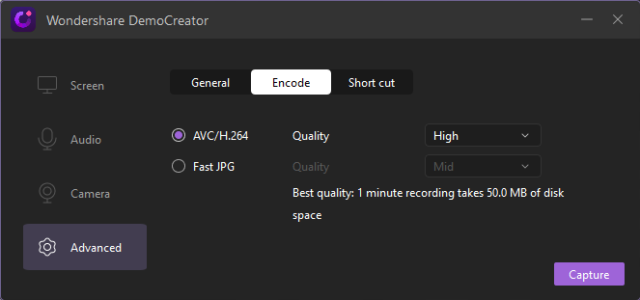
The next tab encode, asks for the desired quality and type of output file for your work.
At the end of advanced tab option is short-cut, you can assign shortcuts to some of the mostly used function as shown below. This helps you in reducing your processing time radically.

Coming back to the normal screen of Capture. You have an option to minimize the window appearing of DemoCreator by the option available on the top right.
On this, the window attains a small size with all its basic options as:
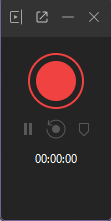
On pressing the Recordbutton, the video or screen starts to record. As you are done with the recording process you can simply press end.
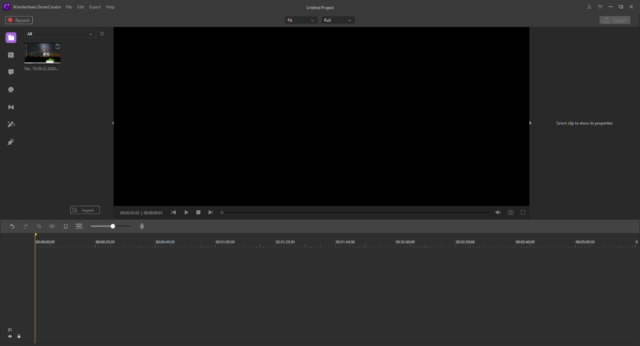
Editing the Lesson Video
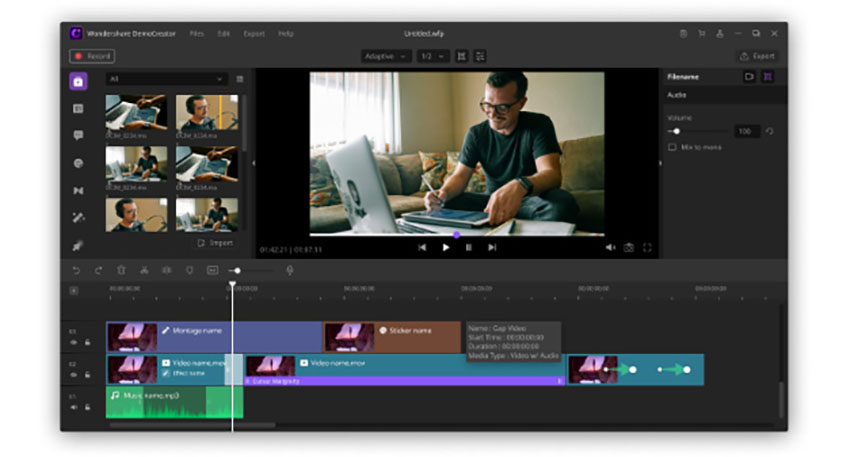
On completing the capture process, DemoCreator will take you to you Editing panel. The editing panel consists of your recorded video on the left-hand side.
Fine tune your videos
DemoCreator helps you to tune and enhance your videos. On completing the recording, the video editor panel allows you to tune your audio and video in mesmerizing sync that is completely attention diverting content for your viewer.
Cut and Crop
After this, click and drag the video shown on the left to your story bar present at the bottom with timeline.
In this story frame you can cut and crop your clip using the tools on the left over the story bar.
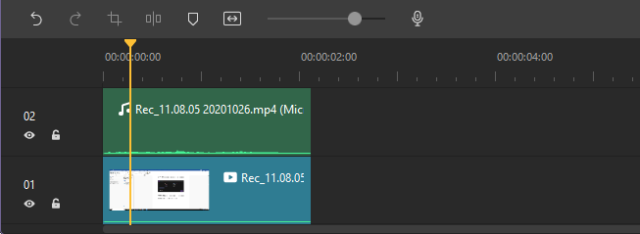
The bar comprises of options:
- Undo
- Redo
- Crop
- Split
- Marker
- Zoom to fit
- Mic audio
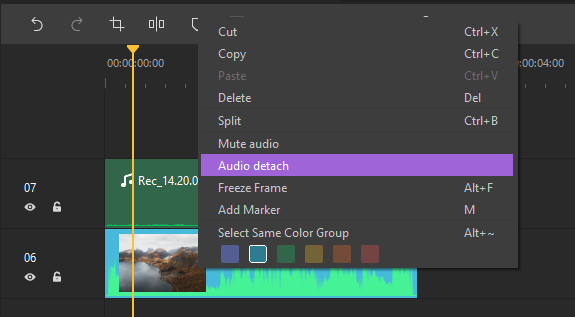
By using the split option, select the content that you want to eradicate and then delete.
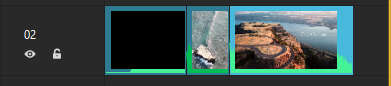
As you want to remove the middle content just click on it and then press Delete.
Through DemoCreator you also remove any unwanted glitch or noise that is affecting the main video. This not only improves the quality of content but also helps making a clean and coherent video.
Enhancing your audio
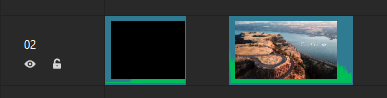
By DemoCreator you can enhance your videos by adjusting the audio content of the clip. For this, first detach the audio by right clicking on the story bar. Then the video will appear as two separate parts. One will be the audio with frequency wave and the other one will be the visual component.
Removing background unwanted noise
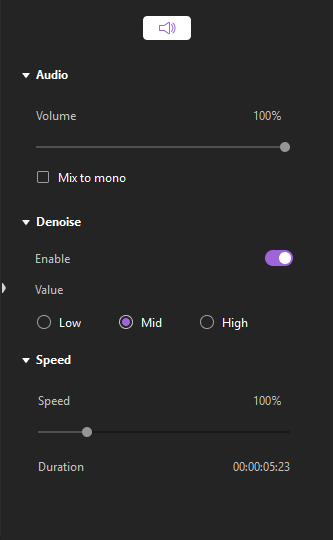
On double clicking the audio, voice adjustment bar will appear on the right side. With this you can adjust the volume settings to mute the audio. Moreover, DemoCreator also helps in de-noising the audio by polishing it.
Additional Effects
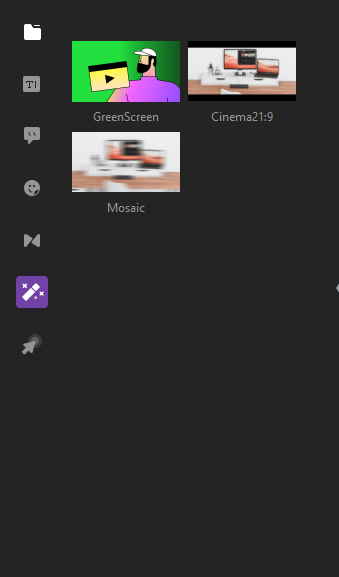
You can enhance you video further by introducing different annotations, dialog boxes and cursor effects from the left-hand side of the interface.
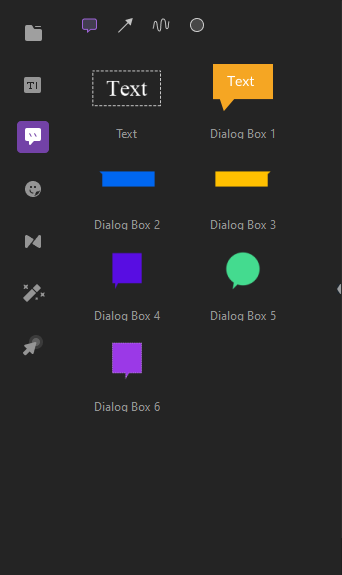
The emoticons are also readily available.
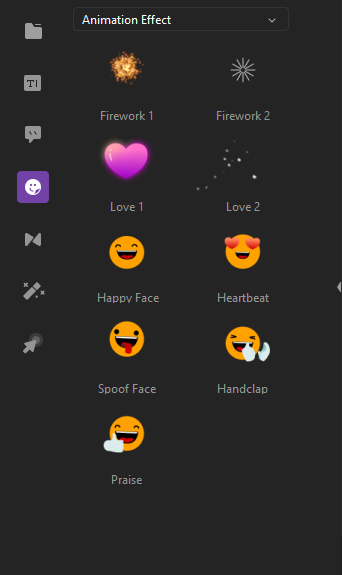
With additional animations to improve the cinematography and give an aesthetic look to your video.
The most valuable thing while on-screen recording are the cursor highlights. DemoCreator provides various options for highlighting cursor movement and activities.

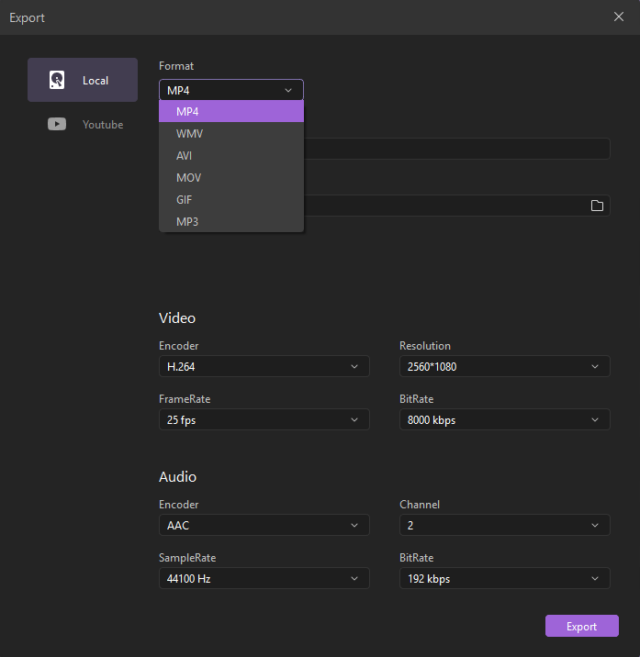
Export
Now as we are done with the enhancement of our movie. And cannot wait of uploading on a social media. We will export the video as a video file. Wondershare DemoCreator gives a huge variety of options such as MP4, WMV, AVI, MOV, GIF, MP3.
The most reasonable selection is to export in the maximum video quality to let the viewer clearly understand the amount of efforts you have poured in to make up an aesthetically pleasing video and cinematography.
The export button appears on the top right corner of the interface.